my personal pony noob dump
just doing my thing
Disclaimer: This is my own workflow and it's definitely not the only way to gen. I use NoobXL btw.
Step 1
Let's first start with the prompt. Everybody has their own prompt style, so do whatever you like here.
My preference is to have a common prefix and suffix across most of my gens (see example), the artist tags right after the prefix, and then only have to change the middle part. For the negative prompt, usually that remains the same across all gens.
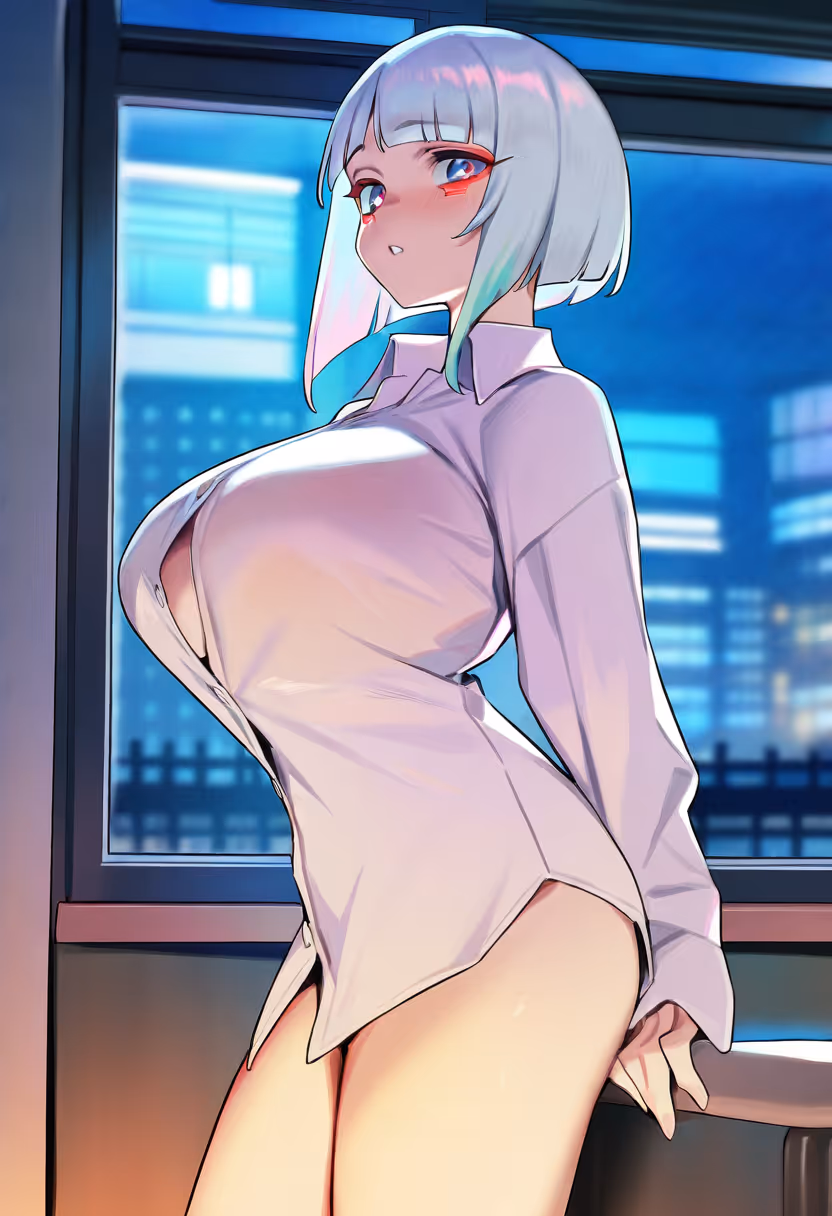
masterpiece, best quality, very aesthetic, absurdres, doujin cover,
 yabby, nonco, try \(lsc\),
 1girl, button gap, collared shirt, parted lips, indoors, long sleeves, looking at viewer, naked shirt, shirt, solo, standing, thighs, white shirt, window
 lucy \(cyberpunk\), blunt bangs, grey hair, bob cut, cyberpounk, red eyeliner, large breasts
 best quality, amazing quality, very aesthetic, absurdres, newest, year 2023, year 2024, film grain,
 Negative: multiple views, sound effects, lowres, (bad), text, error, fewer, extra, missing, (worst quality, jpeg artifacts, low quality:1.1), watermark, unfinished, displeasing, oldest, early, chromatic aberration, signature, extra digits, artistic error, username, scan, simple background, young, comic
Step 2
Find a seed you like for your prompt (e.g. you might like the composition, character, etc). If you want, you can also use variation seed with different weights.
These are the settings I use:
- Sampler: Euler SMEA Dy
- Scheduler: Align Your Steps (AYS)
- Steps: between 24 and 35
Step 3
Something wrong with your gen? No problem. Use inpainting or img2img to make a similar gen that's more to your liking.
Inpainting
I used to do a fair bit of inpainting back in the sd1.5 days.
Nowadays, this is not as much needed. In any case, if you still want to do it, I recommend grabbing a controlnet (like kataragi-inpaint). This will help dramatically with inpainting.
img2img
Even if you have a good seed in txt2img, you might want to try to use img2img as well to see if you can improve your gen further.
From my experience, when you use img2img with lower denoise values (e.g. 0.3-0.4), you tend to get a washed out image. Maybe this is because of (vpred) NoobXL, who knows? Because of this, I adjusted my img2img settings.
My preference is to use the canny controlnet with the following settings:
- Denoise strength: ~0.9
- Controlnet weight: 0.3-0.5 (depends how much of the composition you wanna keep)
- Controlnet ending step: 0.45-0.65 (gives more freedom for img2img to do its magic in later sampling steps)
Step 4
Upscale your gen using your preferred upscaler, somewhere between x1.5 and x2 so you can still img2img your gen in the next step.
Some upscalers your might find useful:
Step 5
Finally, you should img2img the upscale until it fixes all of the previous artifacts and gives you the style you want.
These are the settings I use:
- Denoise strength: 0.3-0.4 (going higher might result in washed out gens)
- Steps: 40-60 * (might be slower, but worth it most of the time)
Depending on the gen, another option I sometimes go for is to repeat the img2img settings from step 3 but with a lower denoise strength and higher controlnet weight. This will give you a lot more details in your gens, with the caveat that it might mess up due to the high resolution. Then I would follow again with the settings above to clear up any artifacts.
* Automatic1111/forge/reForge scales your steps with the strength (e.g. 20 steps with 0.5 denoise strength results in 10 steps). You can increase the step count to account for this or disable the scaling in your settings.
a quiet study
green plants on the windowsill
rays of morning light